How To Do Hip Thrusts at Home With Minimal or No Equipment
So, you’ve created a home gym to make your life easier and keep yourself active without leaving the house. You’ve got everything from dumbbells to resistance bands, but you’re still figuring out how to do hip thrusts at home with minimal equipment.
Maybe you’re in calisthenics training, and you don’t have any equipment.
Don’t you worry!
In today’s guide, I will explain how you can do hip thrusts at home with minimal or no equipment. I’ll even include ways to make this exercise more challenging once you master the basics.
Let’s cover all things Hip Thrusts Home Exercises!
What Muscles Are Being Worked During Hip Thrusts?
Hip Thrusts are part of the hinge movement pattern, a hip-dominant movement that targets the posterior chain muscles: Glutes, Hamstrings, and some of your erector spinae muscles.
Some of your adductors and quadriceps muscles are also recruited, but not as much as your glutes or hamstrings. So don’t rely on quad and adductor growth from hip thrusts; there are plenty of other leg exercises that prioritize growth on those two muscles.
During hip thrusts, you remove the work from your lower back compared to deadlifts. That’s because it’s a well-isolated exercise that doesn’t require spinal stability for execution. So, it’s reduced risk of straining the lower back.
Primary Muscles:
Gluteus Maximus:
The Gluteus Maximus is the largest and most superficial glute muscle. It’s responsible for extending your hip and making your leg go backward.
Gluteus Maximus
The Gluteus Medius is the muscle located under your Gluteus Maximus. It’s responsible for hip abduction, meaning it helps you move your leg sideways.
Gluteus Minimus:
The Gluteus Minimus is the smallest and most deeply located glute muscle. It works with the Gluteus Medius to perform hip abduction.
Secondary Muscles Involved:
Hamstrings:
The hamstrings are a group of three muscles that run along the back of your thighs. They work to extend your hip and flex your knee. You have three hamstring muscles: Semimembranosus, Semitendinosus, and the Biceps Femoris.
Erector Spinae:
The erector spinae is a group of muscles that run along your spine. They are responsible for keeping your back upright and straight, especially when lifting objects.
Reasons You Should Include Hip Thrusts In Your Home Workout
Hip Thrusts is a great exercise to build strength and muscle in your glutes. It’s also an excellent hinge exercise that doesn’t stress the lower back.
Hip Thrusts work the same muscles as Romanian deadlifts (RDL’s) but hip thrusts train the glutes in the short length vs. RDL’s train glutes in the long length.
Step-by-Step Instructions For Hip Thrusts At Home
Fair warning: you’ll probably see some hip thrust exercises you’re already aware of, but the most important thing to remember about adding hip thrusts into your home exercise routine is how you perform them.
That comes to form check, the repetitions you’re doing, and weight progressions if you have any equipment in your home.
Keep a few of these exercises in your weekly glute training and practice progressive overloading when performing each exercise over time.
Switch it up with a few other variations mentioned below and increase the weight on each hip thrust exercise once you get proper form down and the weight becomes too easy to lift.
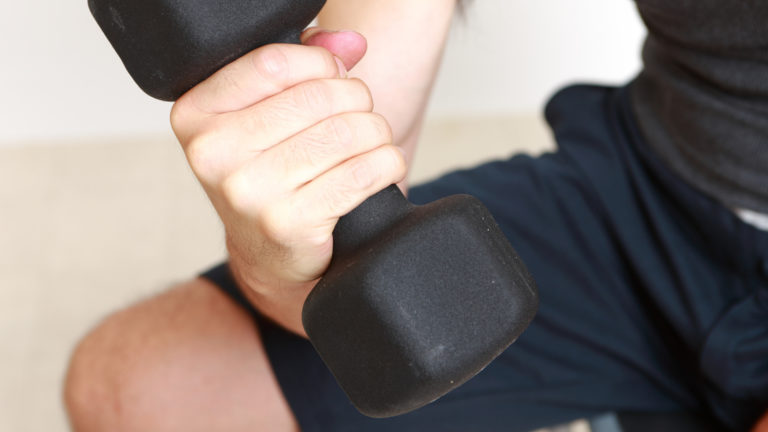
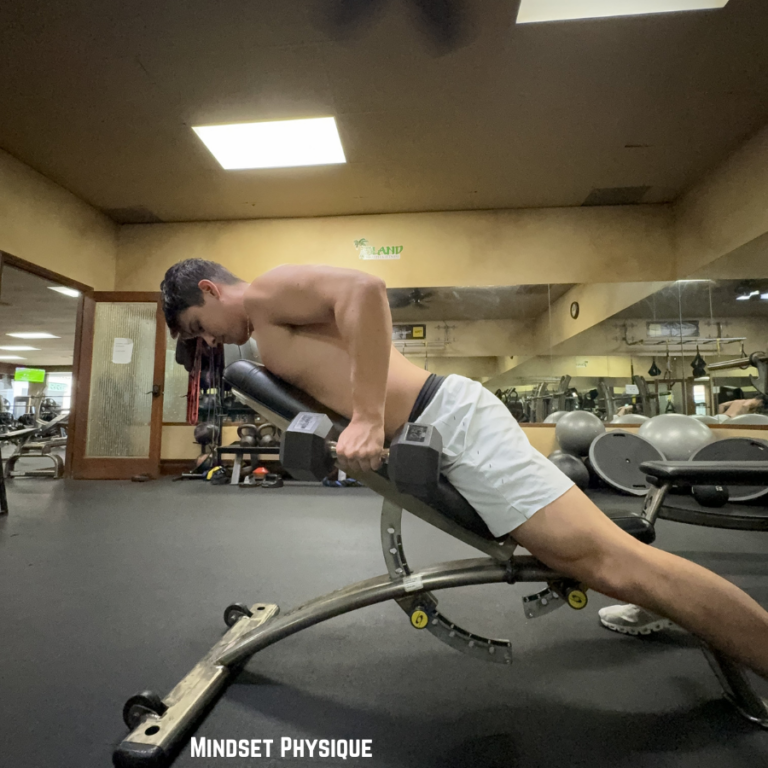
Dumbbell Hip Thrusts
Recommended Reps: 15-25, depending on weight
Starting with the traditional dumbbell hip thrust, as long you have some weight and the edge of a sturdy piece of furniture (bench, couch, table) you can get a great glute workout in.
Keep your torso straight and your feet flat while thrusting up. And if you want to challenge yourself, try incorporating some isometrics in a few of your reps. That’s where you pause at the top for 5 seconds.
Here’s how to do Hip Thrusts:
- Sit on the ground with your mid back against the edge of a bench, couch, or table. Put a dumbbell (or any weight) over your lap.
- With your feet flat on the ground and knees facing up, push through your heels and raise your hips until you have a straight line from shoulders to knees.
- Hold at the top for a few seconds, then lower back down with control.
Form Tips:
- Center your midback on the edge of the bench or piece of furniture that you’re using
- Keep your knees at a 90-degree angle
- Keep your heels down at all times during the exercise
- Keep your ribcage pointing down
- Tuck your chin and look straight ahead
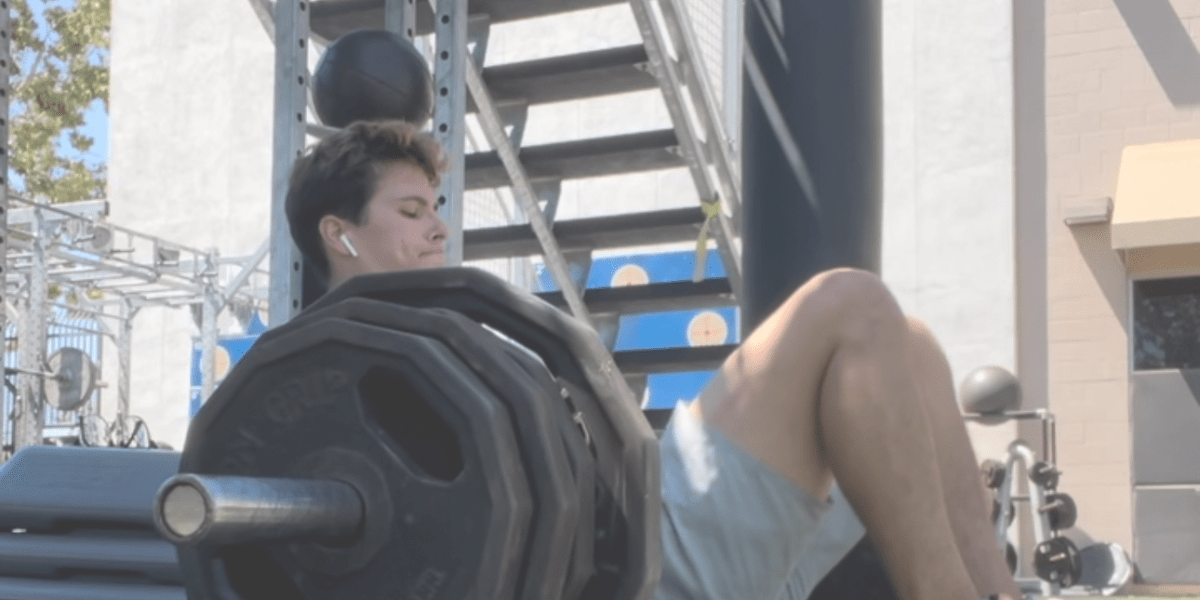
Dumbbell Floor Hip Thrusts
Recommended Reps: 15-25, depending on weight
If you don’t have any furniture to use, you can still get a great workout with floor hip thrusts. You can use a dumbbell or even a barbell if you have one to perform floor hip thrusts (also known as glute bridges).
The key with these is to squeeze your glutes as you reach the top. You can also add some isometrics here by holding every other rep for 5 seconds before performing the next rep.
Here’s how to do it Floor Hip Thrusts:
Start by lying on your back with your knees bent and feet flat on the ground.
- Place a dumbbell (or barbell) over your hips and hold it in place with your hands.
- Drive through your heels to raise your hips up, keeping a straight line from shoulders to knees.
- Squeeze your glutes at the top and hold for a few seconds before lowering back down with control.
- For an added challenge, you can also perform single-leg hip thrusts by extending one leg straight out while performing the exercise with the other leg.
Important form tips to keep in mind:
- Keep your knees at a 90-degree angle
- Keep your heels down at all times during the exercise
- Keep your ribcage pointing down
- Tuck your chin and look straight ahead at your knees
EZ Bar Floor Hip Thrusts
Recommended Reps: 12-15 reps When Starting | 6-15 Reps When Increasing Weight
If you want to build some strong glutes and you have access to an EZ Bar (miniature barbell), then we have options here!
It’s very similar to the barbell hip thrust and can be done either from the floor or against the bench.
I included this in my list of hip thrusts at home exercises because I’ve seen some clients that I train from home have this. So we’re going to make great use of that EZ Bar.
Here’s how to do EZ Bar Hip Thrusts:
- Place the EZ Bar (or barbell) across your hips.
- Start by lying on your back with your knees bent and feet flat on the ground.
- Hold onto the bar above your hips (use a barbell pad to protect the pelvis when going heavy).
- Drive through your heels to raise your hips up, keeping a straight line from shoulders to knees.
- Squeeze your glutes at the top and hold for a few seconds before lowering back down with control.
- For an added challenge, you can also perform single-leg EZ Bar hip thrust – you will be miserable, but your cheeks will thank you!
Important form tips to keep in mind:
- Keep EZ Bar right on the hip bone; feel free to add a barbell pad for extra cushion.
- Keep your heels down at all times during the exercise
- Keep your ribcage pointing down
- Tuck your chin + look straight ahead at your knees
Bodyweight Hip Thrusts
Recommended Reps: Until Failure [AMRAP]
Regardless of whether you have the equipment, bodyweight hip thrust can greatly vary if you create enough tension with enough reps on this exercise.
Not everyone can handle weight at first, so body weight can be great if you need to work on the range of motion for hip flexion and extension.
You can also add some resistance bands and work on abduction (pushing out) when you come to the top and squeeze.
Here’s how to do a Bodyweight Hip Thrust:
- Lie down on your back with your knees bent and feet flat on the ground
- Place hands by your sides or across your chest
- Drive through your heels to raise your hips.
- Squeeze your glutes at the top and hold for a few seconds before lowering back down with control.
Important form tips to keep in mind:
- Center your midback on the edge of the bench or a sturdy piece of furniture you’re using.
- Keep your knees at a 90-degree angle.
- Keep your heels down at all times during the exercise.
- Keep your ribcage pointing down.
- Tuck your chin and look straight ahead.
Bodyweight Floor Bridge [With Bands]
Recommended Reps: Until Failure [AMRAP]
The glute bridge typically starts with body weight before adding some weight. It’s the same exercise as the above but done on the floor.
When you’re first starting and don’t have weights, this is a noteworthy variation to work on activating the glutes.
Adding resistance bands to this one also brings it up a notch by adding more tension at the top of the movement.
Here’s how to do the Bodyweight Floor Bridge:
Lie on your back with your knees bent at a 90-degree angle, feet flat on the floor, and a resistance band just above your knees.
- Push your hips up towards the ceiling while squeezing your glutes at the top (imagine you’re trying to hold a 500 dollar bill between your booty cheeks)
- Keep your core engaged and ribcage pointed down throughout the movement.
- Slowly lower back down to the starting position, keeping tension on the band.
Important form tips to keep in mind:
- Keep your knees at a 90-degree angle
- Keep your heels down at all times during the exercise
- Keep your ribcage pointing down
- Tuck your chin and look straight ahead at your knees
Taking it to the Next Level: How Progress This Exercise from Home
Practicing the same hip thrust exercises week after week and progressive overload is essential.
Teachable moment: Progressive overload is when you either increase the weight overtime on the same exercise, increase reps, decrease the rest time, or slow down on the eccentric phase, to name a few.
With that said, once these exercises become too easy, in addition to implementing progressive overload on these exercises, you want to add progressions on hip thrusts.
For example, single-leg hip thrusts are the most common progression.
And don’t worry, even without barbells and Smith Machines, you can still progress on hip thrusts from home.
Any Exercise Above With Resistance Bands Added
As mentioned above, you can add a resistance band slightly above the knees to create more tension when doing hip thrusts.
You can also add abductions at the top when you squeeze the glutes (driving the knees out).
Here’s how to do hip thrusts with resistance bands:
Place the resistance band slightly above your knees
- Complete a standard hip thrust with the resistance band on.
- When you get to the top of the hip thrust, squeeze your glutes and drive your knees out against the resistance band.
- Return to the starting position and repeat for the desired number of reps.
Form Tips:
- Ensure the resistance band is secure above the knees and not sliding around during the exercise.
- Keep your knees at a 90-degree angle.
- Keep your heels down at all times during the exercise.
- Keep your ribcage pointing down.
- Tuck your chin and look straight ahead at your knees.
Single Leg Hip Thrusts [With Weight]
Recommended Reps: 15-25 reps
When performing a single-leg hip thrust with weight, place a dumbbell vertically on one leg, preferably the leg that remains on the ground.
While holding the weight, perform a standard single-leg hip thrust by raising and lowering your hips. Repeat for desired reps on each side.
How to Do It:
- Engage your core and glutes to keep your body stable during the exercise.
- Keep the weight close to your body, and don’t let it shift around during the movement.
- Make sure you have proper balance before attempting this progression, as it requires a higher level of stability and control.
Form Tips:
- Keep your ground knee at a 90-degree angle.
- Keep the knee in the air bent at a 90-degree.
- Keep your heel down at all times during the exercise.
- Keep your ribcage pointing down.
- Tuck your chin and look straight ahead.
Single Leg Hip Thrusts [No Weight]
Recommended Reps: Until Failure [AMRAP]
For a more basic version of the single-leg hip thrust, lift one leg off the ground and perform the standard movements described above without any weight. Focus on engaging your glutes and keeping your hips level throughout the exercise.
How to Do It:
- Engage your core and glutes to keep your body stable during the exercise.
- Keep proper control and balance throughout the movement.
- Make sure you have adequate form before progressing to a weighted version.
Form Tips:
- Keep your ground knee at a 90-degree angle
- Keep the knee in the air bent at a 90-degree
- Keep your heel down at all times during the exercise
- Keep your ribcage pointing down
- Tuck your chin and look straight ahead
Form Checklist for Hip Thrusts
The form checkpoints are almost the same on every hip thrust variation mentioned in this article, with some slight additional pointers depending on if you’re using single-leg leg hip thrusts, banded hip thrusts, floor hip thrusts, etc.
However, these are the five core checkpoints for hip thrusts:
Alternatives to Hip Thrusts That Will Work the Booty [From Home]
Hip thrusts, along with squats, are arguably the best exercise for growing the booty. However, it’s also great to mix it with other hip-dominant exercises targeting the glutes and hamstrings.
Here are some additional exercises you can include in your glute training program from home, and I say additional because it’s important to include a few glute exercises per week to help your peach grow!
Dumbbell Romanian Deadlifts [RDL’s]
Recommended Reps: 12-15 reps When Starting | 6-15 Reps When Increasing Weight
The RDL is a great exercise to target the hamstrings and glutes. They are also easy to do from home with just the dumbbells.
How To Do It:
- Stand with your feet shoulder-width apart
- Hold a pair of dumbbells in front of your thighs with your palms facing your thighs
- Keep your knees slightly bent, chest up, and core engaged
- Hinge at the hips [think pushing the door behind you closed with your booty] and lower the weights until your hips cannot go back anymore.
- When you reach mid-shin level, push through your heels and return to the starting position, squeezing your glutes at the top of the movement
Form Tips:
- Roll your shoulders back
- Bring your shoulders down
- Keep your chest up [think proud chest]
- Keep your head and spin neutral throughout the entire movement
- As you lower the weights, keep the dumbbells close to your shins
Banded Pull Throughs
Recommended Reps: 20-25
Banded pull-throughs are an excellent exercise for targeting the glutes and hamstrings and improving hip mobility.
How To Do It:
- Place a resistance band around a sturdy object at knee height.
- Stand facing away from the band with your feet shoulder-width apart and toes pointed slightly outwards.
- Hold onto the band handles at your hips with your arms fully extended.
- Hinge at your hips and push your butt back, keeping a slight bend in your knees.
- As you reach the bottom of the movement, squeeze your glutes and push through your heels to stand straight again.
Form Tips:
- Keep your back flat throughout the entire movement
- Squeeze your glutes at the top of the movement
- Keep tension in the band throughout, avoiding any slack
- Avoid arching your back; keep your head and spine straight with each other.
Dumbbell Goblet Squats
Muscles Worked: Glutes, Quads, and Adductors.
Recommended Reps: 12-15 reps When Starting | 6-15 Reps When Increasing Weight
The difference with squats is that it is a knee-dominant exercise. The other exercises in this article are hip-dominant. Meaning when we squat, we want to bend at the knee.
Squats (like Goblet Squats) will work your glutes in addition to your quads and adductors, but because we’re focusing more on glutes in this article, keep in mind the essential form tips below so that you can target your glutes more than your quads.
How To Do Goblet Squats for the Glutes:
- Stand with your feet shoulder-width apart, toes slightly pointed outwards.
- Hold a dumbbell vertically with both hands in front of your chest, close to your body [Hold it like you would hold the Goblet of Fire from Harry Potter!]
- Keep your chest up, core engaged, and back straight as you lower into a squat position and return to the top.
Form Tips:
- Keep your elbows close to your body throughout the entire movement.
- Engage your core, and keep your chest up and your heels down throughout the whole movement.
- Keep your shin pointing verticle and knees at a 90-degree angle.
- Push through your heels to return to the starting position, squeezing your glutes at the movement’s top.
Wrapping Up + My Experience
Hip Thrusts and any variation are my favorite exercises to grow the booty. The great thing is that you can add some of the exercises from this article into your training program and then switch it up with other hip thrust variations mentioned in this article over time.
As long as you keep working on these exercises week by week and progressive overload (increase weight, reps, and tension), you will see significant results over time, even when doing these exercises from home.